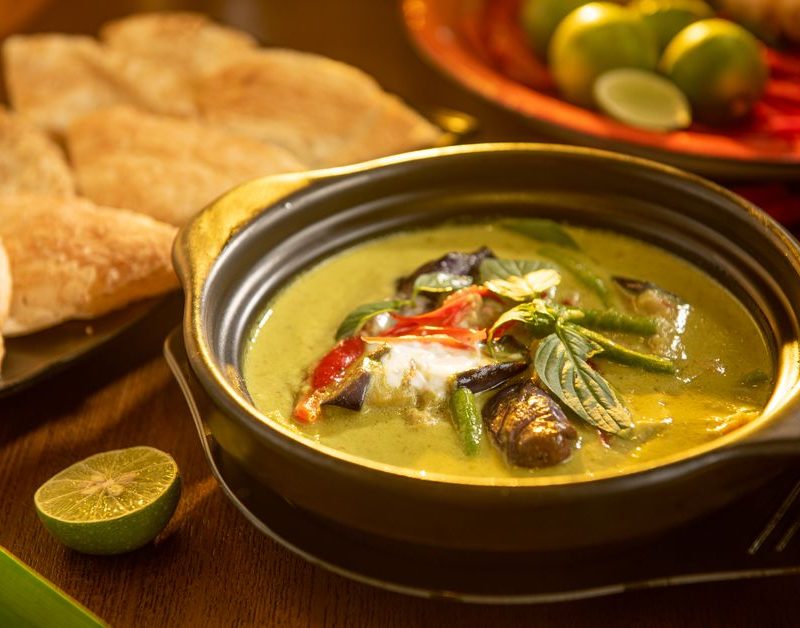
Thai-style butternut and coconut curry brings together golden squash, fragrant ginger and a creamy sauce sharpened with lime. Roasting the squash before it meets the coconut milk gives the pieces browned edges and helps them hold their shape. Green beans add a little bite, while basil provides a fresh finish.
This version focuses on contrasting textures rather than cooking every vegetable until soft. The squash roasts while you prepare the sauce, then everything comes together for a brief final simmer. Ready-made red curry paste supplies the aromatic base, making this a practical home recipe with plenty of room to adjust the heat.
Ingredients and preparation
Serves: four with rice. Preparation time: about 20 minutes. Cooking time: about 35 minutes, with the sauce cooking while the squash roasts.
You will need a large baking tray, a wide saucepan or deep frying pan, and a saucepan for the rice. A wide curry pan gives you room to fold in the squash gently without breaking it into the sauce.
- 1 medium butternut squash, about 1 kg before peeling
- 2 tablespoons rapeseed oil, divided
- 1 medium onion, finely sliced
- 2 garlic cloves, finely chopped
- 20 g fresh ginger, peeled and finely grated
- 1-2 tablespoons Thai red curry paste, depending on its strength
- 1 x 400 ml tin coconut milk
- 150 ml vegetable stock, plus extra if needed
- 200 g green beans, trimmed and halved
- 1 teaspoon soy sauce, plus extra to taste
- 1 lime, half for juicing and half cut into wedges
- A small handful of Thai basil or ordinary basil leaves, roughly torn
- 250 g dry jasmine rice, or your preferred rice, to serve
- 1 fresh red chilli, thinly sliced, optional, to serve
Curry pastes vary considerably in heat and saltiness. Start with one tablespoon if you have not used yours before. Check the ingredients if you need a vegetarian or vegan meal, as some pastes contain shrimp or fish. Choose a suitable stock and check individual labels when catering for allergies or other dietary requirements.
How to make the curry
- Prepare the squash. Heat the oven to 220 degrees Celsius, or 200 degrees Celsius fan. Cut the squash into manageable sections on a stable chopping board. Peel, remove the seeds and cut into roughly 2 cm cubes. Keeping the pieces similar in size helps them cook evenly.
- Roast until tender. Toss the squash with one tablespoon of oil and spread over the tray in a single layer. Use a second tray if needed. Roast for 25-30 minutes, turning once, until the edges have coloured and a knife slides easily into the centre. The pieces should still hold their shape.
- Soften the onion. Meanwhile, heat the remaining tablespoon of oil in your wide pan over a medium heat. Add the onion and cook for 7-8 minutes, stirring regularly, until softened. Lower the heat if the edges start to catch.
- Build the aromatic base. Add the garlic and ginger and stir for one minute. Add the curry paste and cook for another minute, stirring continuously. If the paste sticks, loosen it with a small splash of the measured stock.
- Make the sauce. Stir in the coconut milk and remaining stock, scraping the base of the pan to release the paste. Bring to a gentle simmer, then cook uncovered for 5 minutes. Keep the heat moderate so the sauce bubbles quietly.
- Cook the rice and beans. Cook the rice according to the packet instructions, timing it to finish with the curry. Add the green beans to the sauce and simmer for 6-8 minutes, until tender with a little bite. Taste a bean to check its texture.
- Bring everything together. Fold in the roasted squash and soy sauce. Simmer gently for 2-3 minutes to coat and heat the squash. Add a splash of stock if the sauce is thicker than you like, stirring carefully to keep the pieces intact.
- Finish and serve. Remove from the heat and stir in the juice of half the lime. Taste and adjust with a little more soy sauce or lime if needed. Scatter over the basil and optional chilli. Serve with rice and lime wedges.
Getting the texture and flavour right
Give the squash room
A crowded tray traps moisture, leaving squash soft without much colour. Space between the cubes helps their edges brown while the centres become creamy. If using two trays, swap their positions during cooking if your oven heats unevenly. Check smaller pieces first and remove any that are ready early.
Balance the sauce at the end
Squash and coconut milk both bring sweetness, so taste them together before adjusting the seasoning. Lime adds brightness and soy sauce adds savouriness. Add either gradually and taste again. For more heat, offer sliced chilli at the table so everyone can customise their own bowl.
Serving ideas and simple variations
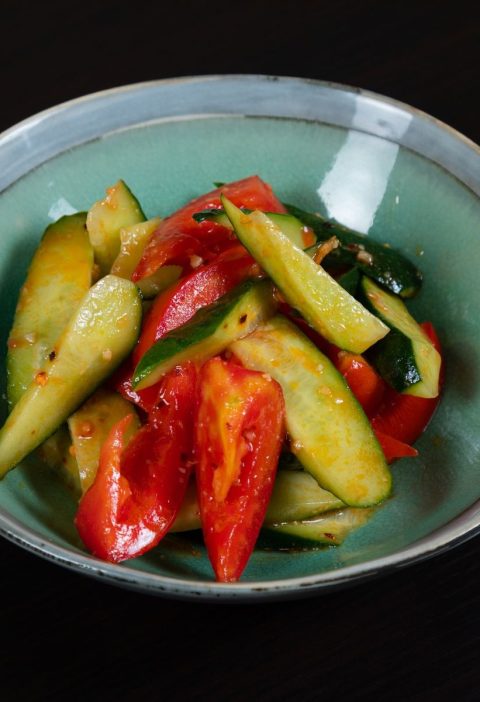
Jasmine rice suits the fragrant sauce, but brown rice also works if you allow for its longer cooking time. A cucumber salad dressed with lime juice makes a refreshing accompaniment. Keep the dressing simple so the curry remains the main flavour on the plate.
- Add tofu: pat 280 g firm tofu dry, cube it and roast on a separate lightly oiled tray until golden. Fold into the curry with the squash for a more substantial meal.
- Change the green vegetables: replace the beans with sliced sugar snap peas, adding them for the final 3-4 minutes so they retain some crunch.
- Use frozen squash: roast the cubes from frozen according to the packet guidance, leaving space around them. Check their texture before adding to the sauce.
- Make a gentler bowl: use less curry paste initially and leave fresh chilli off the garnish. Taste the sauce before serving, as the paste determines much of the heat.
Storage and reheating
Cool leftover curry promptly in shallow containers and refrigerate within two hours. Eat within two days or freeze in individual portions for up to three months. Defrost in the fridge before reheating. The squash may soften further and the coconut sauce may separate slightly; gentle stirring usually brings it back together.
Reheat in a saucepan with a splash of water, stirring carefully until steaming hot throughout. Reheat only once. Store rice separately, cool it quickly, ideally within one hour, and refrigerate for no more than one day before reheating until steaming hot throughout. Add fresh basil and lime after reheating to refresh each bowl.