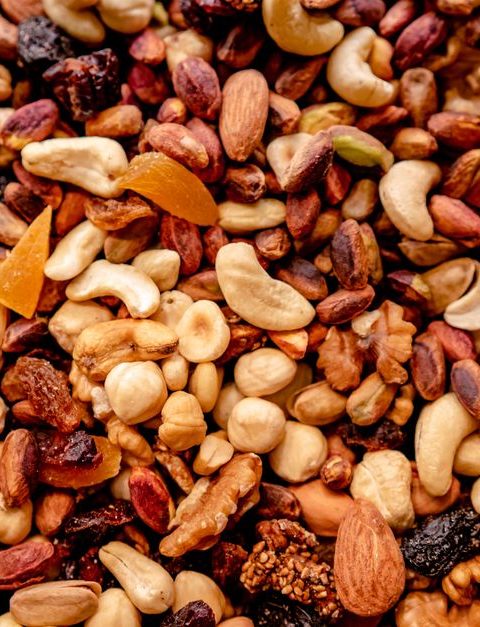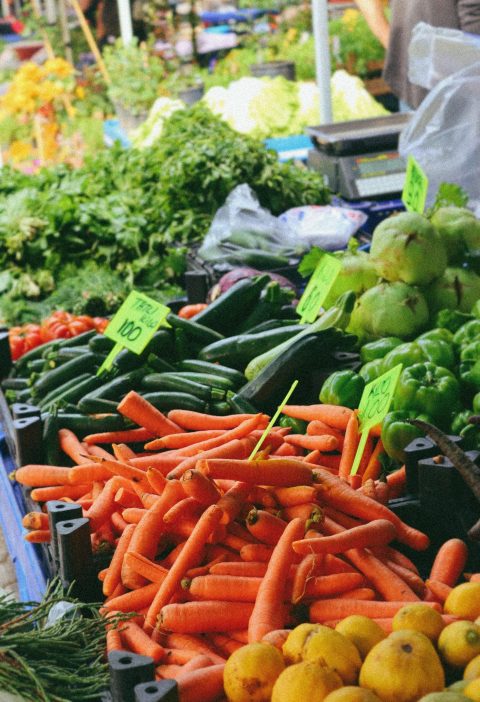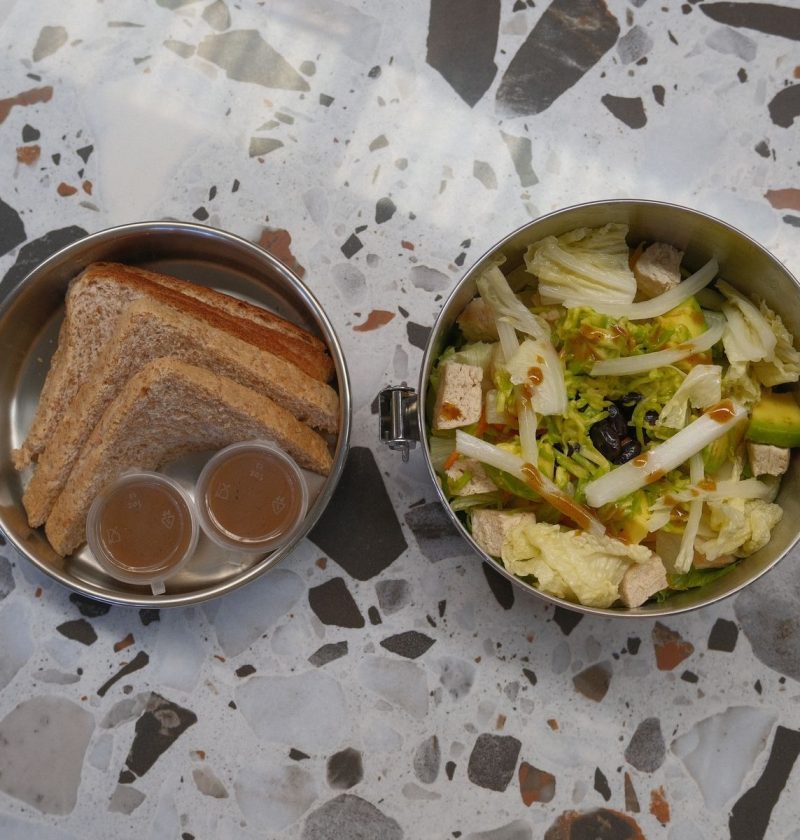
A packed lunch needs a temperature plan as well as a menu. A sealed container prevents leaks, but it does not keep chicken, yogurt, eggs, or a prepared salad cold by itself. Start with where the lunch will spend the morning, then choose food, containers, and cold sources that fit the journey. Texture and flavor are easier to preserve once that basic plan is in place.
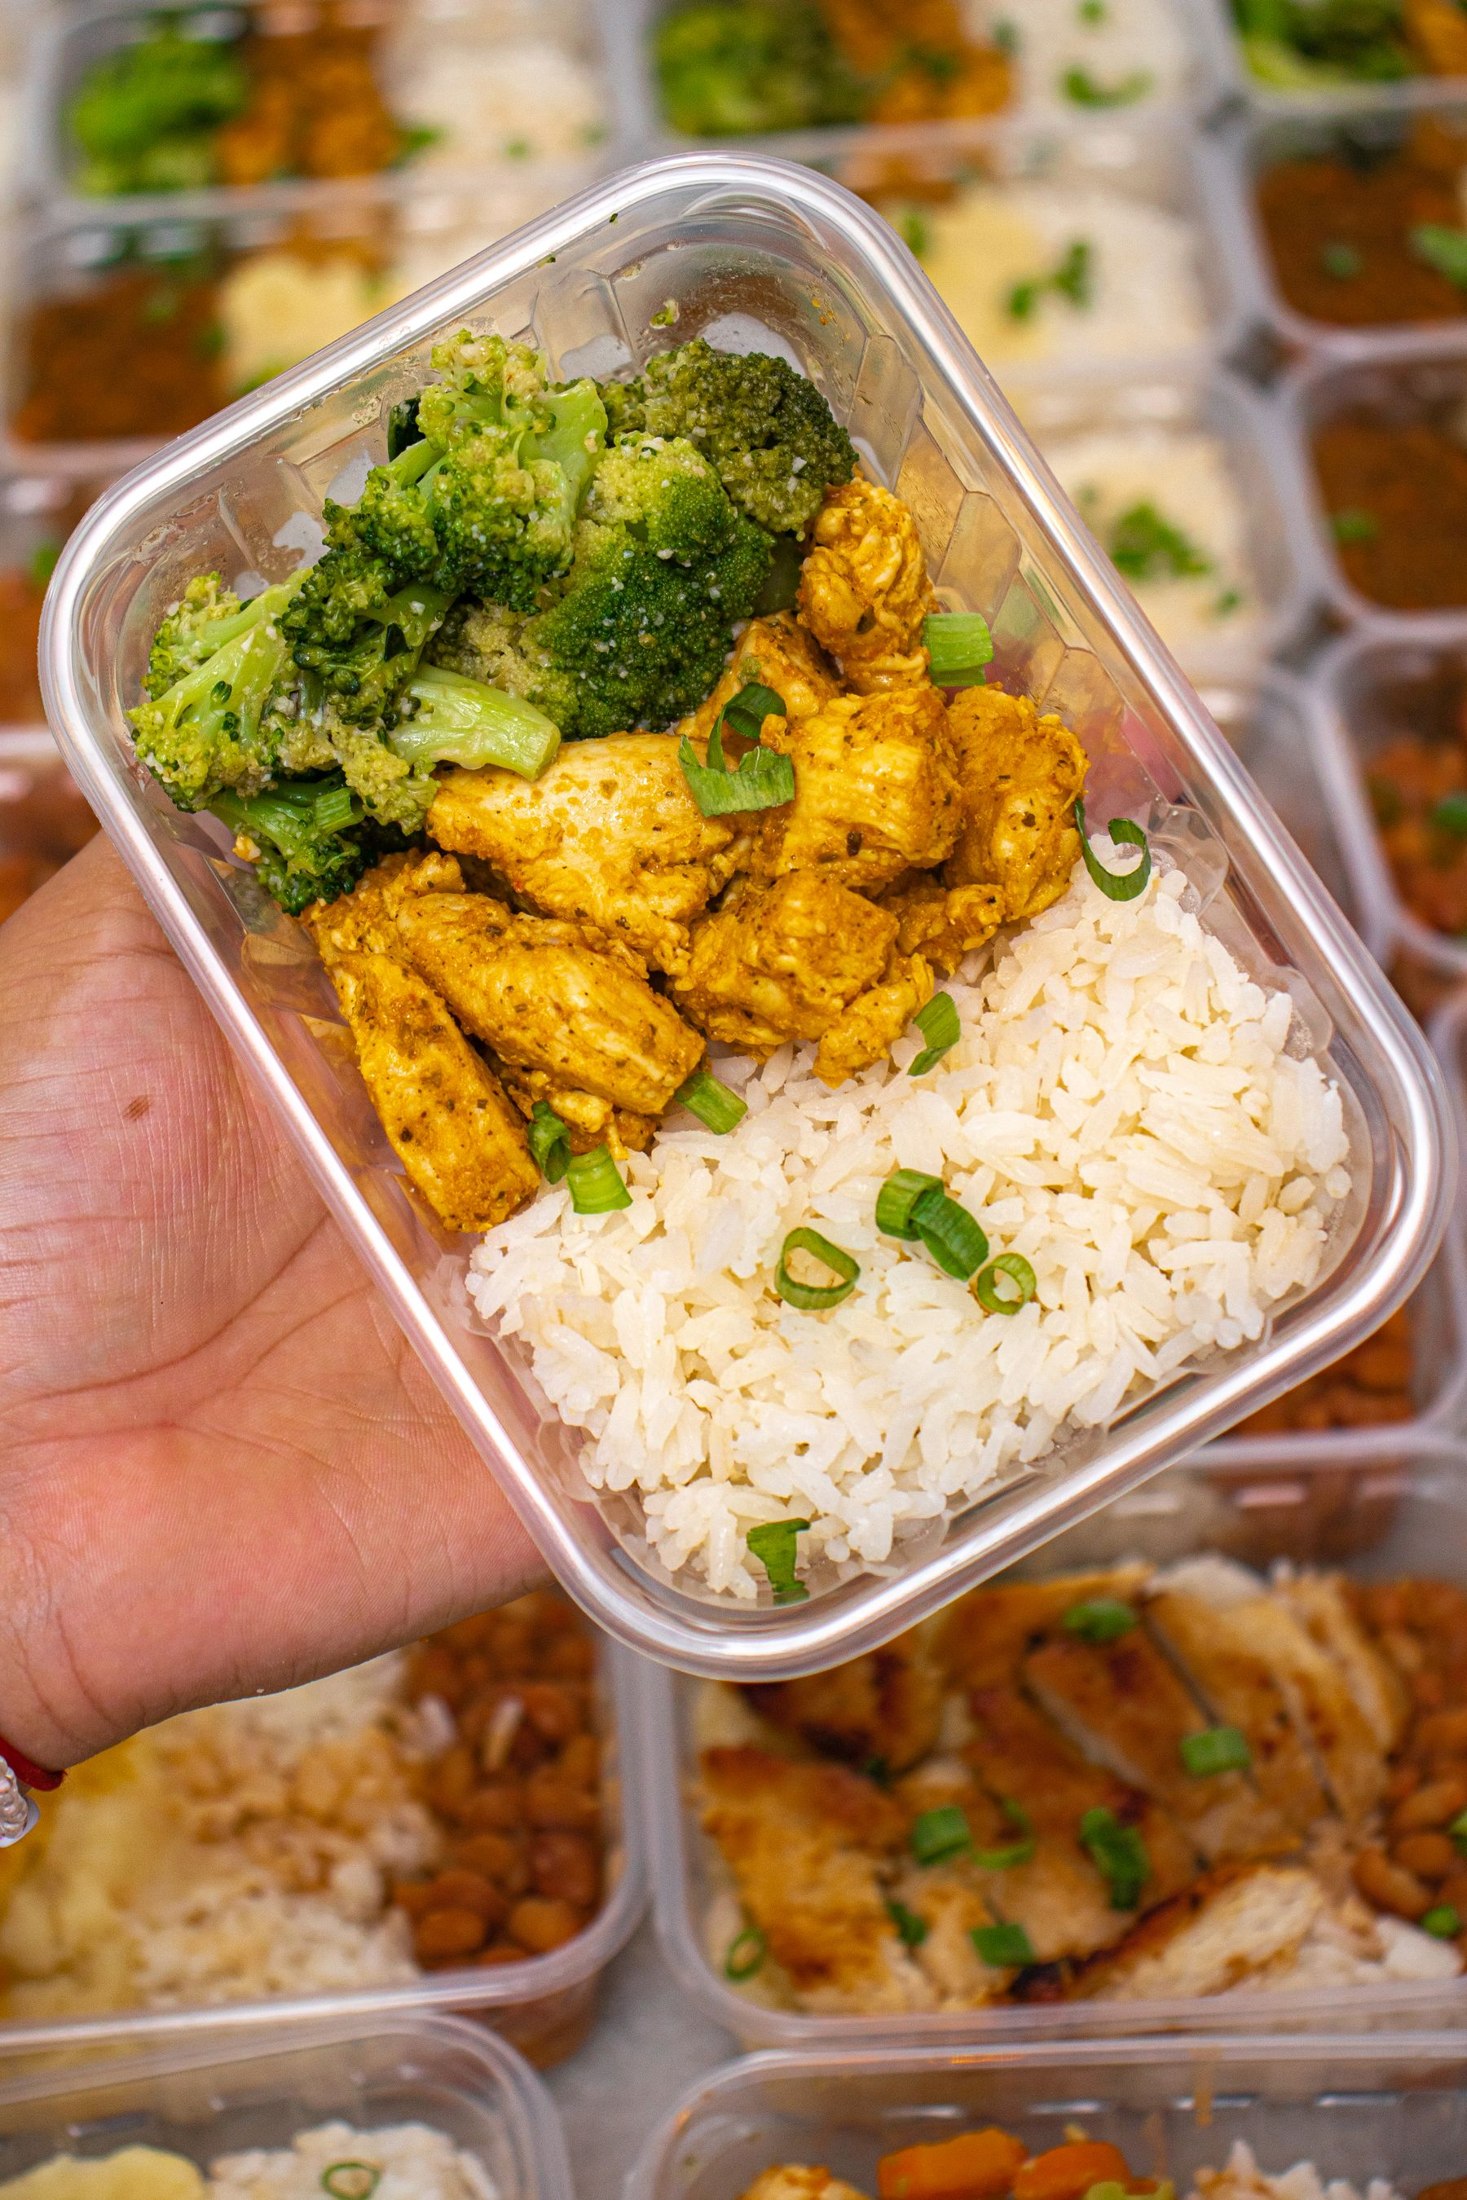
Find Out What Storage Is Available
Check whether there is a working refrigerator at the destination and whether you can use it promptly after arriving. A shared office refrigerator may be crowded, and a school or outdoor workplace may have no cold storage at all. Do not build the plan around a facility that is only sometimes available.
Count the entire journey, including a commute, a stop on the way, and time before lunch. A bag left in a parked car faces different conditions from one carried directly into a cool building. Choose an insulated carrier that fits the meal and cold sources without leaving the lid partly open.
Start With Food That Is Already Cold
Prepare perishable lunch components in advance when practical and keep them refrigerated. If using cooked leftovers, cool and store them safely first. Putting a warm meal beside an ice pack at the last moment asks the pack to cool the food as well as keep it cold.
Keep preparation clean. Wash hands, use clean utensils, and protect ready-to-eat ingredients from raw-food surfaces. Assemble sandwiches on a clean board rather than on the area where raw meat was prepared. Cold storage cannot correct contamination introduced while packing.
Use Cold Sources Around the Food
USDA recommends at least two cold sources in a bag lunch, placed above and below perishable items. Freeze suitable gel packs overnight, and use a carrier that closes properly around the packed meal.
A frozen water bottle can be one suitable cold source alongside a gel pack, provided the bottle is designed for freezing and packed securely. Do not count an ordinary cool drink as equivalent to a properly frozen source. Arrange the food in the center of the chilled space, not in an outside pocket separated from the packs.
Separate Components for Better Texture
Pack wet ingredients and crisp ingredients separately when possible. A small container of dressing keeps leaves from becoming soggy, while sliced tomatoes can travel separately from bread. This is a quality choice, not a reason to keep perishable ingredients outside the chilled area.
| Lunch component | Useful packing choice |
|---|---|
| Leafy salad | Dry leaves with dressing separately enclosed |
| Sandwich | Wet filling added near serving where practical |
| Yogurt | Secure pot within the chilled section |
| Cut fruit | Leak-resistant container kept cold |
Choose containers the eater can open easily. A beautifully packed lunch that spills during opening creates a different kind of problem.
Put the Lunch Away on Arrival
Use the destination refrigerator promptly when available. Make sure cold air can reach the food rather than assuming an insulated bag will chill quickly while tightly closed. Depending on the space, unpack the containers or open the carrier as appropriate while keeping food covered and identified.
If no refrigerator is available, keep the insulated lunch closed, out of direct sun, and away from heat sources. Avoid repeatedly opening it to take out unrelated items. Store cutlery, napkins, and nonfood belongings in another compartment so you can retrieve them without disturbing the chilled section.
Know When the Temperature Plan Has Failed
The FDA advises keeping refrigerated food at 40 F or below. Perishables should not remain unrefrigerated beyond two hours, or one hour above 90 F. If you cannot establish that food stayed safely cold and the relevant limit has been exceeded, discard it rather than using smell as a test.
An insulated bag is not a guarantee of an all-day safe temperature. Packing conditions, weather, food quantity, and the cold sources all matter. If uncertain about a recurring arrangement, check the actual conditions with an appropriate thermometer and change the plan rather than relying on the bag’s appearance.
Plan the Return Trip Before Packing Extras
Pack an amount likely to be eaten instead of sending several perishable backup items that return home warm. Do not automatically put uneaten food back in the refrigerator unless its cold storage has remained safe. A cooled lunch carrier in the morning may no longer provide the same protection late in the afternoon.
- Food chilled before packing.
- Two suitable cold sources prepared.
- Carrier closes fully.
- Arrival storage confirmed.
- Return-trip leftovers assessed safely.
Wash lunch containers and the carrier as directed, then let them dry fully. Resetting the equipment after each use makes the next morning’s lunch easier and more dependable.